Quick Guide

How to Setup Sengled Wifi Light Bulb?

This Christmas/New year we all want to decorate our houses with the best lights. And with Sengled Smart Wifi Led you will be able to color and control your lights easily. So let’s quickly learn how to setup Sengled Wifi lights with its app.

Before we start this setup make sure you have working Internet at home. Plus you will need your Wifi router’s password during setup, so keep it handy. Its Installation is not very complicated, as you just have to Install your light bulbs at desired location. So tighten your bulb into the bulb holder. But do not turn it on yet.

Also we will need a Sengled App to start our setup process. So, click here to download the app, if you haven’t already downloaded it.

download sengled app for android

Download Sengled smart bulb app for iOS

Sengled Smart Wifi Bulb Setup With App

  • Open the sengled app on your android or iOS device to start the process.
  • Now, create the sengled account using an username and password.
  • Next, click on the (+) icon which says “Add a device” at the center of the screen.
  • As these wifi devices do not require any hub. So, click on “Wifi LEDs and Accessories” as a device that needs to be added.

sengled smart bulb setup

  • On the next window, it asks you to cross check again if you have a Wifi icon on the packaging of your bulb. As this confirms that the bulbs are Wifi enabled.
  • You can now Power On your smart bulb. You can do that by turning the switch ‘On’.
  • Tap next on your screen, as it confirms if the bulb is already plugged in or not.
  • The bulb will blink which confirms that the Sengled Smart bulb is ready to setup.

Sengled bulb blinks before setup

  • Allow access to device location on the next screen.
  • On your sengled app you will now see your bulb. You simply need to tap on “Connect”.

Sengled smart wifi bulb setup

  • It will then show you the list of all the available networks. You simply just need to select your router/access point network name. For confirmation you will need to type your Wifi password too. 
  • Your smart bulb setup will be complete after this. A quick automatic On/Off flash by the bulb confirms the same.

Sengled Smart Bulb Setup not working

If in case you are not able to setup your sengled smart wifi bulb then follow the given below steps-

  • First and foremost, try turning the router On/Off for around 60 seconds.
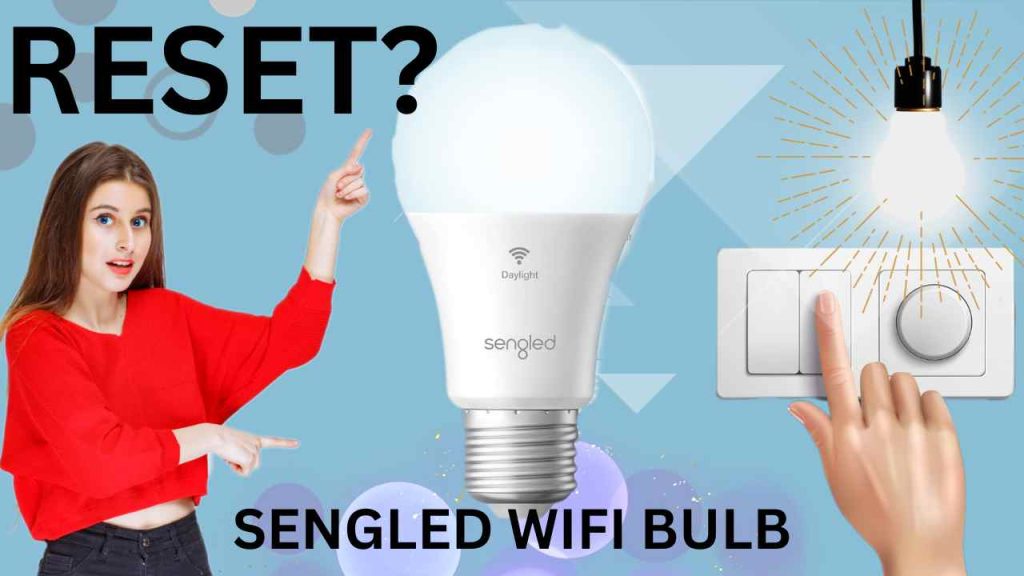
  • Reset the smart Wifi bulb and try the setup again.
  • If your smart bulb is plugged in too far away from the router then it is possible it will get disconnected again and again. So, to tackle this problem you can install a wifi extender and connect it to a smart bulb. Check here how to connect a smart bulb to a wifi extender.
  • Uninstall the app, reinstall it again and then try the setup again.
  • If you type the wrong wifi password during the setup then also it won’t connect possibly. So, make sure you type the right router’s password. You can click here to learn how to check my router’s wifi password.

Other Important Articles Related to Smart Bulbs


Scroll to Top