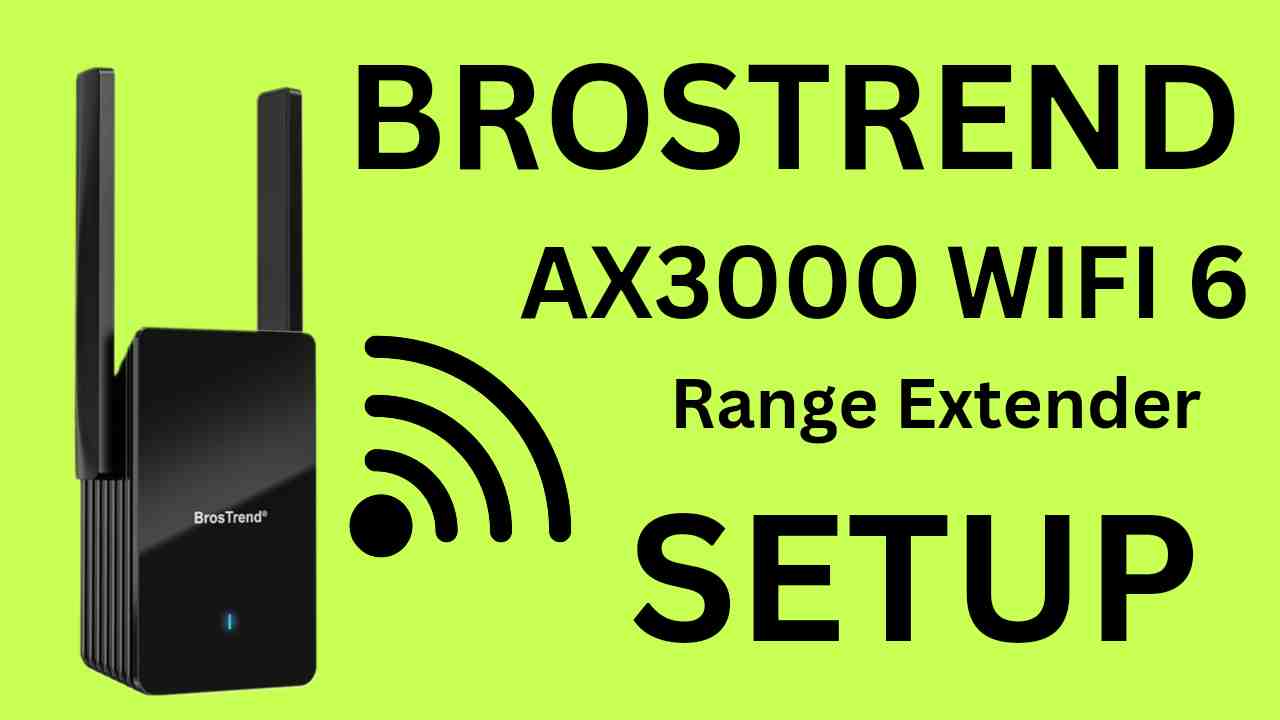
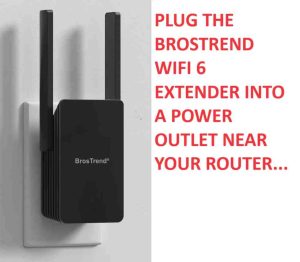
To start with BrosTrend AX3000 WiFi 6 extender setup we will need a working router at home or office first. So, for that first make sure your router is working and all setup. Next, we will need to plug the Brostrend Ax3000 extender in the same room as the router. And wait for its power led on the front to start blinking red.
Now there are two methods to set Brostrend ax3000 first is via WPS and second is via Browser. We will learn both the methods here. In WPS setup you will need to have physical access to the router as you will have to press the WPS button on the router. So, this method is not suitable for people living in apartments, who are using common WiFi.
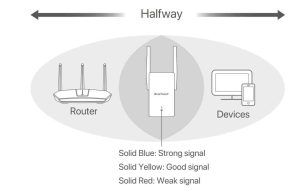
You can opt for browser setup and then extend your WiFi range. Moreover after the setup the led on the front of the extender will guide you about the signal strength that it receives from the router and accordingly you can find the right place to plug the extender.
Brostrend AX3000 WiFi 6 Extender WPS Setup
- So once you have a slow blinking red light on the extender then press the WPS button present on the side of the extender for around 2 seconds.
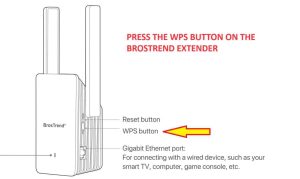
- Next, go to your router and then press the WPS button present on it. Depending upon your router’s make and model you may find the WPS button the front or back side of the router. It may have a WPS label printed along with. Generally, WPS buttons have a two arrow chasing each other’s logo marked on it.
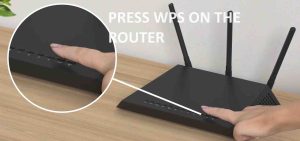
- As you press it on both the devices these two will start talking to each other and within next 60 seconds or less your Brostrend extender will get connected to your router or access point.
- If you see a solid Blue or Yellow light then the setup of the Ax3000 was successful. In case you see a solid red light then try plugging the extender bit closer to the router. If you still have the red light then we recommend you to reset the extender. Moreover, it could be possible that the wps is disabled on the router, so watch the video here on how to enable WPS on the router.
Brostrend WiFi 6 Extender Browser Setup
- We assume your extender is plugged into the wall and has a red blinking light. Now, there are two methods to connect the extender to the computer or phone. First is wirelessly and second is via ethernet. So you can choose either of the two.
Wireless
- In this on your phone or computer go to the WiFi list and there you will find brostrend extender’s default WiFi name i.e. BrosTrend_EXT. You will have to tap on this network and connect your phone or computer to this.
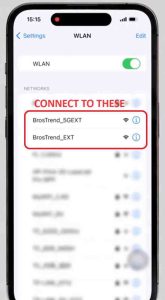
Wired
- In this method you will have to connect an ethernet cable from extender’s LAN port to the LAN port on your computer/laptop/macbook.
- So, once you have connected your computer or phone to the Brostrend WiFi 6 extender either wirelessly or wired then open a browser and into the URL or address bar type http://brostrendwifi.com and hit enter.
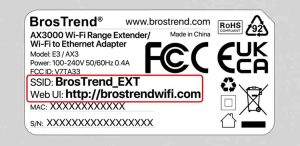
- This will take you to the extender’s login page. Just in case it doesn’t then into the URL or address bar type 192.168.0.254 and hit enter. This will also take you to the brostrend extender’s login page.
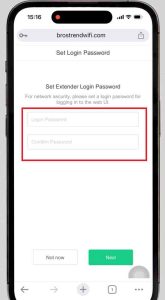
- On the login page you will have to create a new admin password for your device.
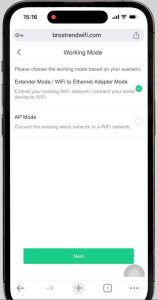
- Next, select the working mode as “Extender mode”. If you want to use it in AP mode then you will have to connect the ethernet from the extender to the router.
- On the next screen you will have to select the 2.4GHz WiFi network SSID that you want to extend. Also type its password for verification. If you use a dual band router then you will have to repeat the process for the 5GHz too.
- Upcoming window will allow you to customize your extender’s SSID or keep the default one if you don’t want. The extender’s default SSID has the “_EXT” suffix at the end of your router’s network.
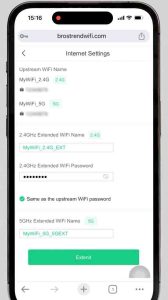
- Once you hit save settings it will hardly take around 120 seconds for the extender to setup. After this you will be able to see your extender’s WiFi SSID in your WiFi list on your phone or computer. So, simply tap on it and then connect to it. Once it asks for a password type the same as your router’s WiFi password.
- Now again a solid blue or solid yellow light will confirm excellent and good signals respectively. In case it shows solid red light then you will need to move the extender closer to the router.
How to reset Brostrend Ax3000 WiFi 6 Extender?
If you are not able to setup Brostrend Ax3000 extender then the best diagnostics is to reset the extender. Now, while you do this make sure the extender should be powered on. So wait atleast 120 seconds after plugging the extender and then start the reset process. For this put a pin or paper clip inside the reset hole of the AX3000 WiFi 6 extender for around 10 seconds while the extender is still plugged in to the wall.
After 10 seconds take the pin out and let the extender reboot, which will take another 120 seconds. After successful reset you will be able to see the Brostrend extender’s factory default name in your WiFi list. If it comes up as “Brostrend_EXT” then the reset was successful or else you will have to reset the extender again. After successful reset you can start the setup process again using the above two mentioned steps.

