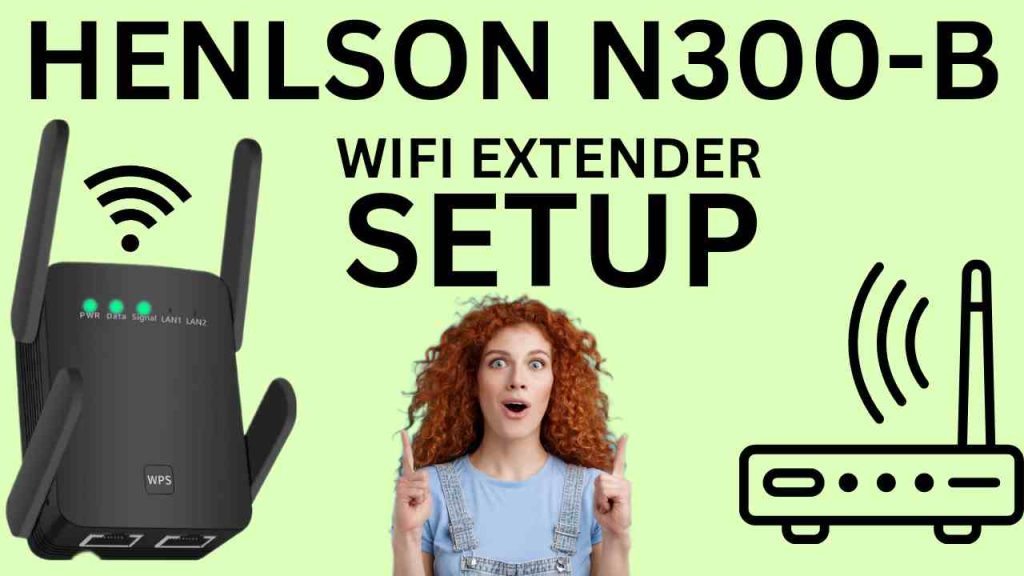
A WiFi extender is a device that helps you extend the WiFi range of your router/access point to the location where you have poor internet connectivity. And this Henlson N300-B extender setup is easy and can be done within minutes. It can be setup via WPS and Browser. Today we will learn both the methods.
You can use whichever works for you. To start with, first make sure you have a working internet at home. So your router or access point should be already setup. Also kindly keep your SSID and Password of the router’s WiFi handy as we will need it during extender setup.
Henlson N300-B WiFi Extender Setup
WPS Method
- First and foremost, make sure you plug the extender in the same room as the router. The ideal distance between the extender and the router should be around 5-10 feet. Although after setup you can place it at the desired location.
- After plugging the device, wait for at least a couple of minutes until you see a stable power LED on it.
- Next, press the wps button on the front of the Henlson extender for around 2 seconds. You will then see a blinking light showing up on the extender.
- Within 2 minutes you will then have to press the wps button on the router. Now, different routers have different locations for the wps model. Some have it on the front and some at the back. You can check around to find your wps on the router. Once you press it the wps led on the router will also start blinking.
- It will take less than 30 seconds for the extender to get connected to your router. Once it connects successfully, you will find the “Signal” or “Data” light getting lit.
- You can then use your phone, computer, ipad, smart tv etc and connect them to the extender’s network. You will be able to find your extender’s network in your WiFi list.
- It will come up as your home network name and then with (-ext) suffix in the end. For example, if your router’s SSID is “James-WiFi” then the extender’s network will come up as “James-WiFi-Ext”.
- Moreover, when you tap on it and it asks for the password then type the same password as your router’s WiFi password.
- Also it is sometimes possible that the WPS is disabled on the router. So watch the video here on how to enable wps on the router?
Reset N300-B extender
- If the above method is not working for you, then before trying the next method we recommend you to reset the extender. Now let us learn how we can reset the Henlson extender. For this first plug the extender into a power outlet.
- Now, wait for at least 2 minutes and let the power LED on it get stable.
- Now using a pin or paper clip, press the reset hole for around 10-15 seconds while the extender should be connected to power.
- After 15 seconds take the pin out and wait for another 2 minutes. Now you can try the setup again as the reset was successful.
Browser Method Setup
- For this method, plug the repeater into an outlet near your router or in the same room.
- Once you have a solid green light on the extender, then grab your WiFi device like cell phone, laptop, ipad, etc.
- Now, go to the settings and then to your WiFi settings. There you will find Henlson extender default network name showing up. It will come up as “Repeater-XXX”. You need to tap on it to connect to it.
- If you can’t find this network on your phone then put the phone on airplane mode. In case you can’t find the network on the computer/laptop then turn off the WiFi and then turn it back on again.
- Nevertheless, once you are connected to this network the setup window will come up automatically on your screen. There you will need to follow the on screen instructions to complete the setup.
- In case the setup window does not come then open a browser on the same device. Now into the URL or address bar type 192.168.11.1 and hit enter or search. This will open the setup page too.
- If you still can login into the setup page then plug an ethernet cable from the extender to the laptop or computer. Then open a browser on the same device and into the URL type 192.168.11.1 and hit enter.
- On the login page you will need to select the mode as “Repeater Mode”.
- Next, select the network that you want to extend. So, here you will simply need to select your router’s SSID. Plus you will need to type your router’s WiFi password for verification.
- Once you hit save settings then the extender will reboot and then and you will see the extender network showing up into the WiFi list with (-Ext) suffix after your router’s WiFi SSID.
- Moreover, this extender only supports 2.4GHz band so it won’t connect with the 5GHz band.