This Kasa Outdoor Smart Plug Setup guide will help you setup your smart plug through its app. The below mentioned instructions works with all outdoor plug models like KP400, KP401, EP40, KP405, EP40A. Check for Kasa Indoor Plug Setup, if you own Indoor model.
In order to start the setup we will need our smart plug, working wifi router and its password plus Kasa Smart App. If you haven’t already downloaded it, then you can download it from here.


Plus, these units are enabled to work with Alexa. You can learn here how to connect Kasa Plug to Alexa. Also, connect the plug into an electrical outlet before we start the setup process.
Kasa Outdoor Smart Plug First Time Setup
- First and foremost, open the Kasa Smart app on your phone. It will then ask you to create a Tp-Link Account.
- In the next step you simply need to click on “Devices” at the bottom left hand of your app.
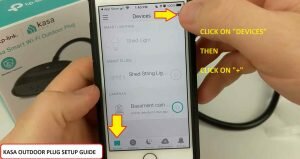
- Next, tap on “+” icon on the top right hand side of the screen to “Add a device”. And then simply select “Smart Plug” as your device type on the next screen.
- Under “Add a smart plug” list, you will then have to choose your plug category which is an “Outdoor Plug”. It will also show you your plugs model number there.
- In the next window it will ask you if you see an “orange and green blinking light” on your plug. If you do then click yes, if not then press the control button on the plug for around 5 seconds to initiate the setup mode.
- Don’t get confused in this step. Here you will need to press home button on your phone and go to settings and then to wifi. There you will need to connect your phone to “Tp-Link_Smart_Plug_XXX”. Simply tap on this network and your phone will connect to it. As it does not require any password.
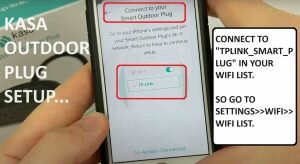
Note:- This network will say “Unsecured network”, but don’t worry about that.
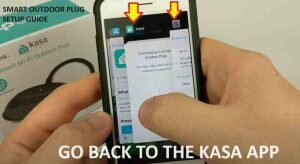
- Go back to the Kasa App again. This time it will ask you to select your network name that you want your plug to connect to. If you want to connect it to the router’s network then select that. Or else if you have a Wifi extender that you wish to connect with then you can choose that one too.
- You will need to type the password of the network for confirmation.
- Next, you will need to rename your plugs. This will help you to identify them in the future. Moreover, if you are going to use these with Alexa or Google Home then these name will help your smart assistant to interact with them.
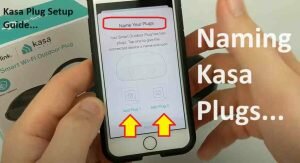
- The app will save your settings. And that is all you need to do in order to Setup Kasa Outdoor Smart Plug.
My Outdoor Smart Plug Is Not Getting Connected To Wifi?
In case you are not able to setup your outdoor smart plug then you can simply reset smart plug. Depending upon your plug model number you will have to find the control button on it. And then press it for around 10 seconds. While you do so make sure your plug is already connected to a wall outlet.
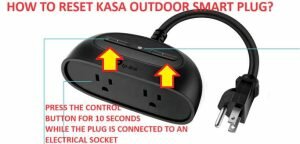
Moreover, while you try the setup both the router and your plug should be in the same room. Also try updating your Kasa Smart App from Playstore or Appstore and then try the setup again.
In case your device is in warranty then you can also replace your device. Check for kasa plug warraty here.
Cool Features Of this Plug that you should check
After you have setup your outdoor plug, you will be able to do some cool tricks with it. Be it Christmas, Thanks giving, Halloween, or July 4th, these plug combined with smart lights you can create awesome illusions and home decor. For that you will simply just need to schedule plug or set timer. Learn how you can do that here-
- Connecting Kasa Smart Plug to Google Home?
- Setting up schedule on Kasa plug?
- Setting up Away Mode on Kasa Smart Plug?
- How to Set Timer On Kasa Plug?

